

How to Install GM All Lights Mod for 2019-2021 Sierra & Silverado New Body Style Trucks
Introduction:
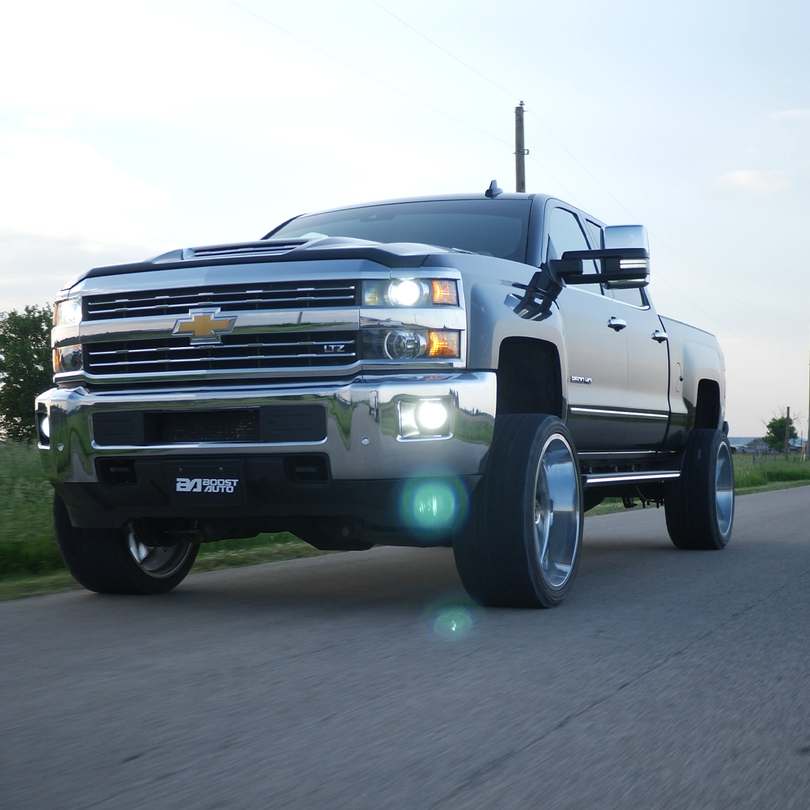
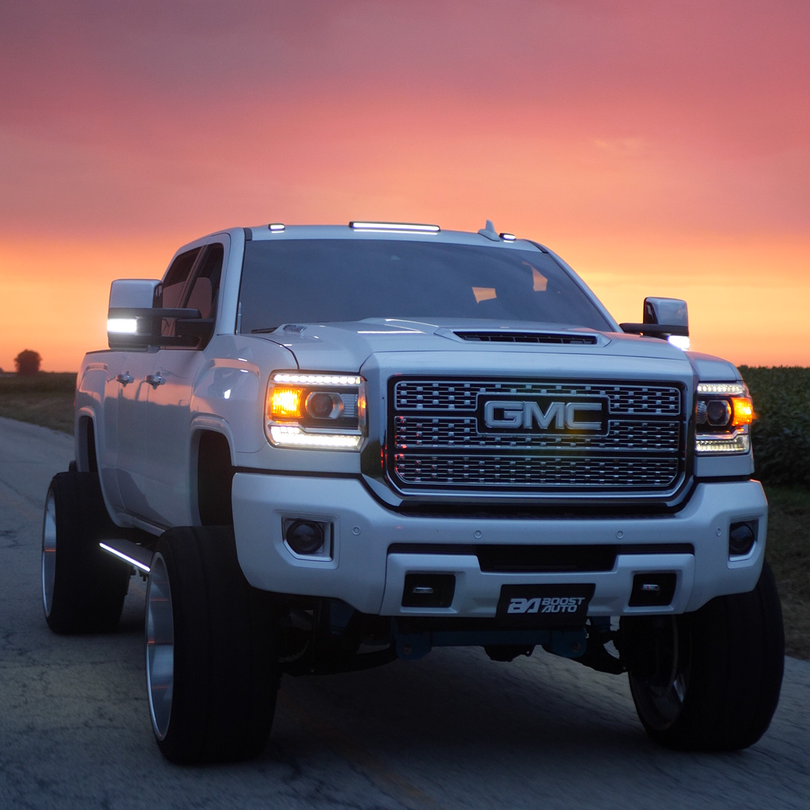
This article will be covering the installation of our 2007-2021 GM All Lights Mod on 2019-2021 GM Chevy Silverado and GMC Sierra trucks. Once installed, the factory fog lights will turn on and stay on when the high beams are activated. This installation requires no additional tools and will take only 5 minutes to complete.
After install your headlights will function as follows:
- Low Beams Only - Only Low Beams will be on
- Fog Lights Only - Only Fog Lights will be on
- Low Beams & Fogs - Only Low Beams & Fogs will be on
- High Beams - Low Beams, Fog Lights, & High Beams will all be on (GM by default normally turns off the fogs when in high beam, but this kit solves that)
Boost Auto Parts offers a variety of items and accessories for your GM Trucks& SUV's. To purchase additional parts and accessories Click Here.
For in depth installation instructions, reference the links below:
Link to installation video: Fog Lights on with High Beams - 2019+ New Body Chevy Silverado / GMC Sierra
Link to technical install document: 2019+ All Lights Mod (6 High Mod)
Vehicle Fitment: 2019 Chevrolet Silverado & GMC Sierra 1500, 2020 Chevrolet Silverado & GMC Sierra 1500 2500HD 3500HD, 2021 Chevrolet Silverado & GMC Sierra 1500 2500HD 3500HD (including Duramax)
Full Installation Video:
Step 1:
Remove driver side kick panel to expose the wiring under the dash. Next, locate the BCM, which is found under driver side dash to the upper left hand side. Remove the brown connector by pushing the tab inwards and pulling down.
Step 2:
Identify the wires in each pin location on the brown BCM connector. Pin 10, shown here in red, is located 3 rows up and 3 columns from the left. Pin 18, shown here in green, is located 2 rows up and 3 columns over from the right. Wire color may vary between vehicles, therefore, pin locations should be your primary reference.
Step 3:
Utilizing the T-taps provided, attach one to the corresponding wire found in slot 10. Make sure to completely close the T-taps for a proper connection.
Step 4:
Utilizing the T-taps provided, attach one to the corresponding wire found in slot 18. For additional leverage, pliers can be used to close T-taps.
Step 5:
Once both T-taps are installed, find the blue marked end on the module. The marked end needs to be plugged into the wire tapped into pin 10. Proceed to bend the flexible module to connect the other T-tap.
Step 6:
Lastly, reinstall the connector into the BCM. A click sound will be heard confirming the connector has been fully inserted.
Your Installation is now complete!
For supplemental and full in depth instructions, please reference our Installation Manual or Installation Video listed below. If you have any questions about this product please reach out to our sales team by phone or email here.
Install Video: Fog Lights on with High Beams - 2019+ New Body Chevy Silverado / GMC Sierra
Install Manual: 2019+ All Lights Mod (6 High Mod)